Key takeaways…
- Sanding removes old varnish, scratches, and uneven wear, so your floor’s surface feels smooth again.
- The sanding process works best when you move through grit in stages, rather than trying to “rush” it… Rushing just means you end up paying twice!
- Most problems people have come from poor prep, missed nails, or skipping the dust control step.
- Your finish choice (varnish, lacquer, hardwax oil) affects durability, look, and maintenance.
- DIY can work in the right conditions, but a professional finish is usually more consistent and lower risk.
What is floorboard sanding?
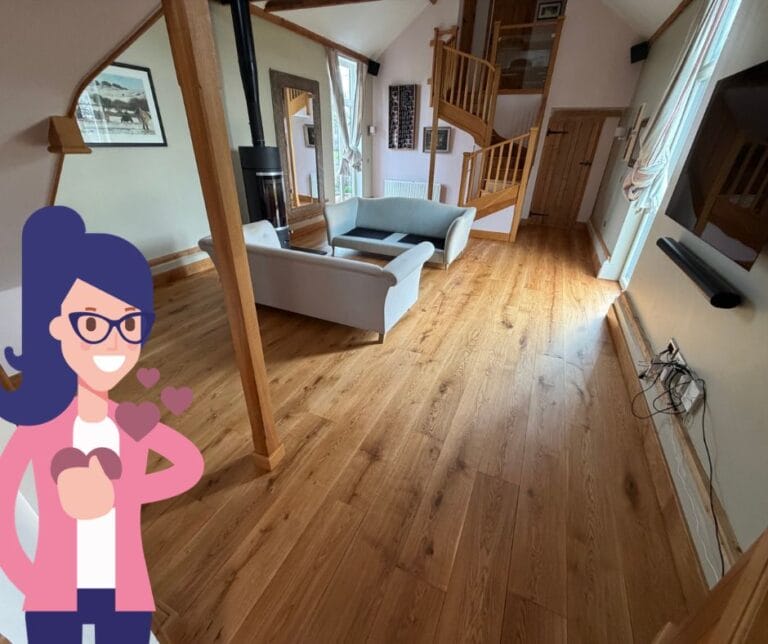
Floorboard sanding means taking your floor back to the bare wood (or close to it), by using abrasives to remove the worn top layer. That top layer often includes old varnish, grime, shallow stains, and the “greyed” look that comes from years of foot traffic.
People sometimes mix up sanding and refinishing. Sanding is the physical removal and levelling stage. Refinishing is the full job, sanding and refinishing together, including repairs, gap filling, and then applying the new floor finish (varnish, lacquer, or oil) to protect the wood.
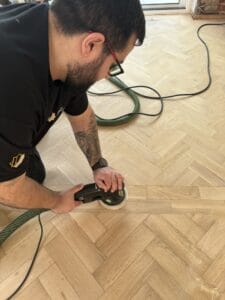
A professional floor sanding setup typically uses a belt or drum sander for the main area, an edge sander for the perimeter, and a buffer or orbital sander to blend and smooth.
Benefits of sanding wooden floors
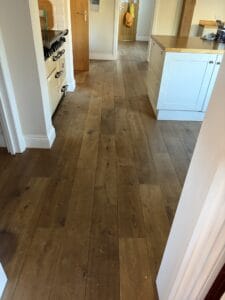
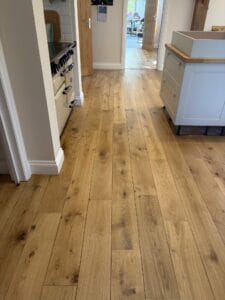
A sanded wooden floor feels different underfoot. It looks calmer, cleaner, and more “intentional”. But the benefits are not just cosmetic.
First, it restores the natural grain of the wood. Scratches, scuffs, and old varnish can make even beautiful floorboards look tired. Sanding strips back and let the wood floor show its character again.
Second, it extends the lifespan of the floor. Solid floors can often be sanded and refinished multiple times over decades, but the real limit depends on thickness, flatness, and previous sanding history.
Third, it is often far more affordable than a replacement. UK guides commonly quote professional sanding and refinishing to be at around £20 to £65 per m², with a frequent benchmark of £40 to £42 per m², all depending on condition, finish, and room layout.
Finally, it can improve the salability of your floor. A wood floor looking good changes how people feel in a space, especially in period homes or design-led interiors where original floorboards are a feature, not a compromise.
When should you sand floorboards?
Most people do not decide to sand because they fancy a project. They decide because something starts to feel “off”, but they cannot quite name it.
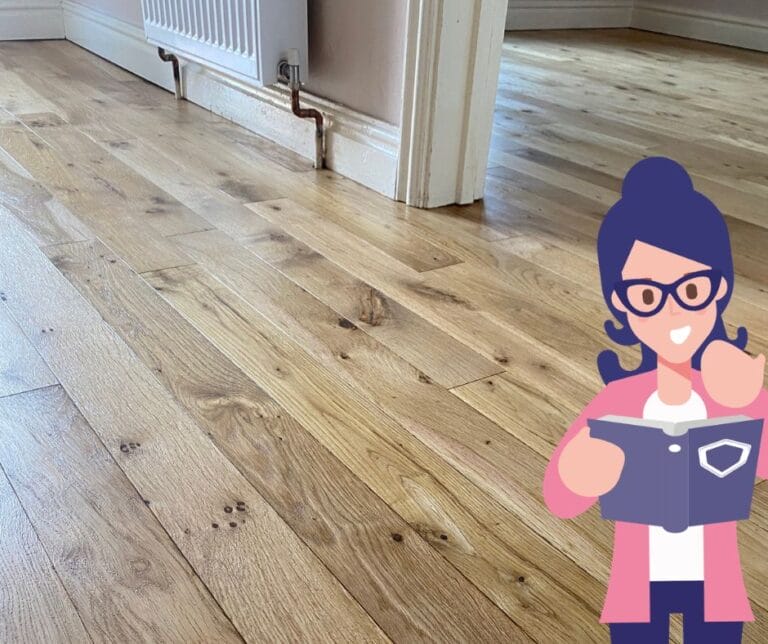
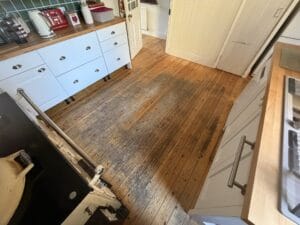
Signs sanding floorboards may be necessary include deep scratches you can feel with a fingernail, a finish that has worn through in patches, grey or black water marks, cupping or uneven boards, splintering, or areas that always look dirty no matter how often you clean.
The other clue is inconsistency. If you have shiny areas and matte areas in the same room, that often means the protective coat has worn unevenly. Some sources suggest high-traffic spaces can need a refresh sooner than quieter rooms, because the finish wears faster where people walk most.
If floorboards are rotten, badly loose, or heavily damaged, sanding alone will not solve it. That is when repair and restoration planning matters more than “able to sand” in the first place.
Tools and materials needed
Having the right tools changes the whole sanding process. But the right tools also come with real responsibility, because aggressive machines can chew through boards quickly.
For most floors, people use a floor sanding machine (often a drum sander or belt sander) for the main area, an edge sander for the perimeter, and a handheld sander or orbital sander for awkward corners. You will need sandpaper in a grit progression (coarse to fine), plus sanding belts or sanding discs, depending on the machine type.
Materials usually include wood filler for gaps and small repairs, plus your chosen sealant and finish. If you plan to varnish the floor, you will also want the correct primer or sealer recommended by the finish system.
Dust control matters as much as sanding. A vacuum with a HEPA filter and careful cleaning between stages reduces the risk of grit dragging across the surface of the floor and leaving scratches.
Step-by-step guide to sanding floorboards
This is the part people rush, because it feels like the “main event”. But most sanding problems are caused earlier, with prep, nails, and poor grit choices. Therefore, start by sanding only after the room is properly ready.
Step 1: Prepare the room
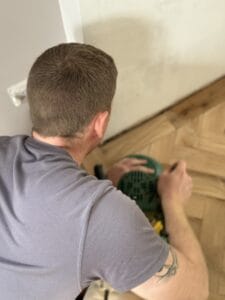
Remove furniture and curtains where possible. Lift carpet grippers, staples, and any leftover underlay. Check for protruding nails or screws and sink them below the surface. If you miss this, the sander can catch and tear a sanding sheet or leave a groove in the wood.
Seal off doorways with dust sheets, even if you have a machine with dust extraction. Sanding wood floors produces fine dust that travels through the house, and it is far easier to contain it than to clean it out of everything later.
Step 2: Inspect the floorboards
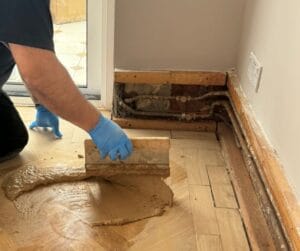
Walk the entire floor slowly. You are looking for movement, squeaks, split boards, and previous repairs. Tighten loose boards, replace damaged sections, and deal with any obvious dips.
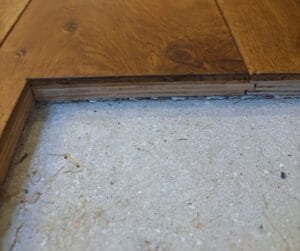
If you are sanding wooden floorboards with wide gaps, decide now whether you are filling. Gap filling is not just cosmetic. It changes airflow, draughts, and how the room feels. But it also needs the right product, because some fillers crack with seasonal movement.
Step 3: Start with coarse sanding (36 to 40 grit)
Coarse sanding removes the old varnish and levels uneven areas. It is the most intensive sanding stage, and it is where damage can happen if you are heavy-handed.
Work with the direction of the wood grain where possible. In some cases, especially with very uneven pine boards, you may start diagonally to flatten, then return to sanding in the direction of the wood grain for the next passes. The aim is to take the floor back to the bare wood evenly, not to chase perfection in one spot.
Step 4: Medium sanding (60 to 80 grit)
Medium sanding removes the coarse scratches left behind and starts refining the surface. This is where “one grit at a time” matters. If you jump too far, you can leave visible tracking that shows up the moment you apply a coat of varnish.
Pay attention to the edges of the floor. Use the edge sander carefully and blend into the main field… you end up with a halo effect around the room if you don’t.
Step 5: fine sanding (100 to 120 grit)
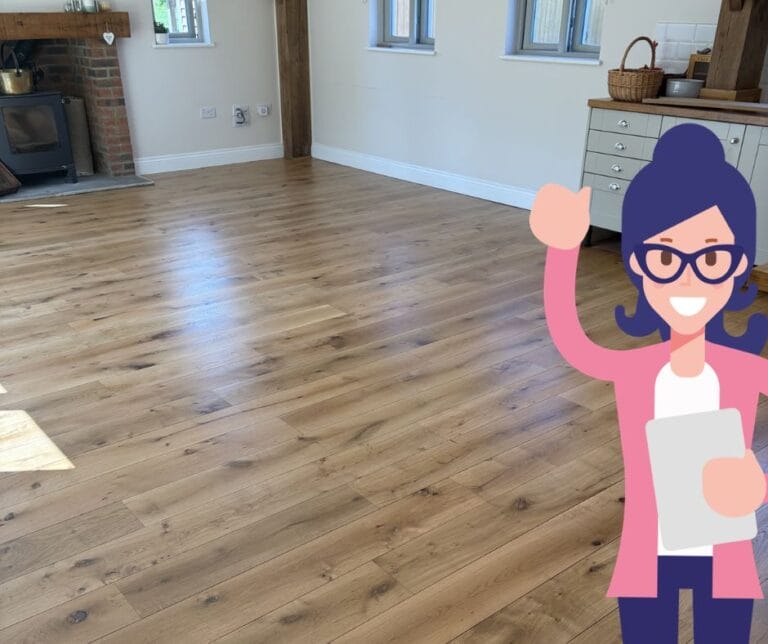
Fine sanding is what makes the floor feel smooth and look consistent in light. Many people finish sanding at around 120 grit for a typical domestic wood floor (including 120 grit on the final pass), because it prepares the surface for modern finishes without over-polishing. It is also the point where the room starts to look “done”, but do not stop early.
This is also where sanding by hand makes sense. Hand sanding in corners and around thresholds can stop you from leaving untouched patches that stand out later. A mouse sander can help in tight places, but go gently.
Step 6: Clean the surface thoroughly
Vacuum the entire floor, edges, and skirting detail. Then vacuum again. Dust left behind becomes grit under your applicator, and that is how you get scratches in a fresh floor finish.
Wipe with a tack cloth if your finish system recommends it, and make sure the floor is dry and stable before you apply anything.
Step 7: Apply stain and sealant
If you are staining, test a small area first, because different floorboards take stain differently, especially where sunlight has faded sections over time.
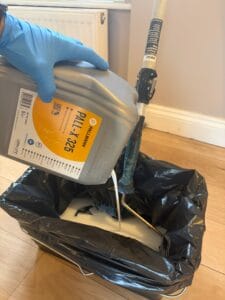
Then seal and finish. Your options include polyurethane and water-based lacquers, or hardwax oils, each with different looks and maintenance needs. NWFA notes that sanding back to raw wood is also the moment you can change colour, but the finish system and the condition of the floor influence what is realistic.
Apply in thin, even coats, following drying times and ventilation guidance. The biggest mistake is rushing recoat times because the room feels “almost there”. That is when you trap solvents, mark the finish, or get dull patches.
DIY vs professional floor sanding
DIY sanding can be satisfying, but it is also one of those jobs where a small mistake becomes a permanent feature. Professionals reduce risk with experience, dust control systems, and the ability to read a floor quickly, including where it is thin, uneven, or previously sanded.
Here is a simple comparison table to make the decision easier.
| Factor | DIY sanding | Professional sanding |
| Cost | Lower upfront, but hire, abrasives, and mistakes add up | Higher upfront, clearer all-in pricing |
| Quality | Depends on skill and patience | Consistent finish and better blending |
| Equipment | Rental floor sander, edge sander, basic dust control | Commercial machines, better extraction |
| Risk | Higher, especially with drum sander gouges and edging marks | Lower, especially on uneven or delicate floors |
| Time and disruption | Often longer, learning curve included | Faster, with a clearer plan for drying and access |
If your floor is engineered wood, be especially cautious. Many UK and industry guides say engineered boards may be refinished at least once, but the number of times depends on the wear layer thickness. If you sand through the veneer, you cannot “undo” it.
 Cost of sanding floorboards
The cost of sanding floorboards in the UK is usually quoted per square metre, and the range is wide because “sanding” can mean anything from a straightforward refinish to full sanding and restoration with repairs.
Many published cost guides put professional sanding and refinishing in the region of £20 to £65 per m², with an average benchmark around £40 to £42 per m² often referenced.
What changes your price most is condition and detail. Old floor repairs, replacing boards, lots of edging work, awkward layouts, stairs, and finish choice all affect time. Smaller rooms can cost more per m² because prep time stays similar even when the area is small.
If you are budgeting, plan for contingencies in older homes. Hidden staples, thin boards, and historic patch repairs can change the scope quickly.
Common floor sanding mistakes to avoid
Skipping grit stages is the classic mistake. It saves time today, but it costs you in visible marks forever. If you want a floor looking good in natural light, the grit sandpaper progression is not optional.
Sanding too aggressively is next. A drum sander removes material quickly, and stopping in one place can leave a dip or a “smile” mark that you will keep noticing.
Ignoring nails is another. One raised nail can tear a sanding belt, damage the machine, and put a deep scratch across the floorboards.
Not vacuuming dust between stages is a quieter problem, but it shows up as swirl marks and grit lines once you apply varnish.
Finally, applying finish unevenly (or too thick) can create lap marks and patches. If you are varnishing, thin coats and patience beat heavy coats and hope.

Maintenance tips after sanding
Once the floor is finished, maintenance becomes simpler, but it also matters more. Your finish is the protection layer, not the wood itself. Therefore, the aim is to protect the finish so you delay the next full sanding.
Use a soft brush head to sweep or vacuum regularly. Use cleaners designed for wood floors, and avoid excess water. Place mats at entrances and consider rugs in high-traffic zones like hallways, especially if you have pets.
If the finish starts to look tired but the wood is not damaged, a maintenance coat (sometimes called a recoat or refresh) can extend the lifespan before full sanding and refinishing is needed. Many homeowners do not realise there is often a middle option between “live with it” and “sand the entire floor again”.
Bringing your floorboards back to life
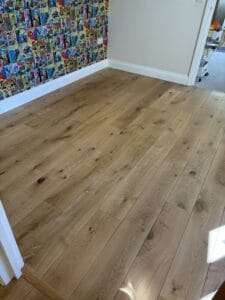
Sanding floorboards can completely change how your home feels, because it replaces “tired and patchy” with smooth, clean, and intentional. But the best results come from patience, prep, and the right grit progression, then finishing properly so the wood is protected, not exposed.
If you are confident with tools and your floorboards are in good condition, DIY can work. But if the floor is uneven, previously sanded, engineered, or you simply want the calm certainty of a consistent finish, it is worth speaking to a specialist. If you are still unsure, feel free to ask. We will give you a calm answer, no pressure.