Oak floors are made to last, which is exactly why they can be so frustrating when they start to look tired. You can live with the scratches, dull patches and wear and tear for a while, but eventually the floor’s look stops matching the rest of the room. Sanding is what brings that original wood floor back to life, because it removes the old finish, levels the floor surface, and gives you clean, fresh timber ready for stain or a new layer of varnish.
But oak is also unforgiving when it’s rushed. Therefore, the goal is not “sand it quickly”, it’s “sand it evenly”, with the right tools, the right grit sequence, and the right prep, so your finish bonds properly and the whole floor stays consistent, and doesn’t go patchy.
Key takeaways
- Sanding oak floors works best with a progressive abrasive sequence, from coarse to medium to fine grit.
- A drum sander is fast and effective, but it needs confident control to avoid sanding marks.
- An orbital sander is slower, but safer for many homeowners.
- Always sand in the direction of your wood grain for the cleanest result.
- Vacuum the floor between sanding passes… dust left behind can scratch the wooden surface.
Why sanding oak floors matters…
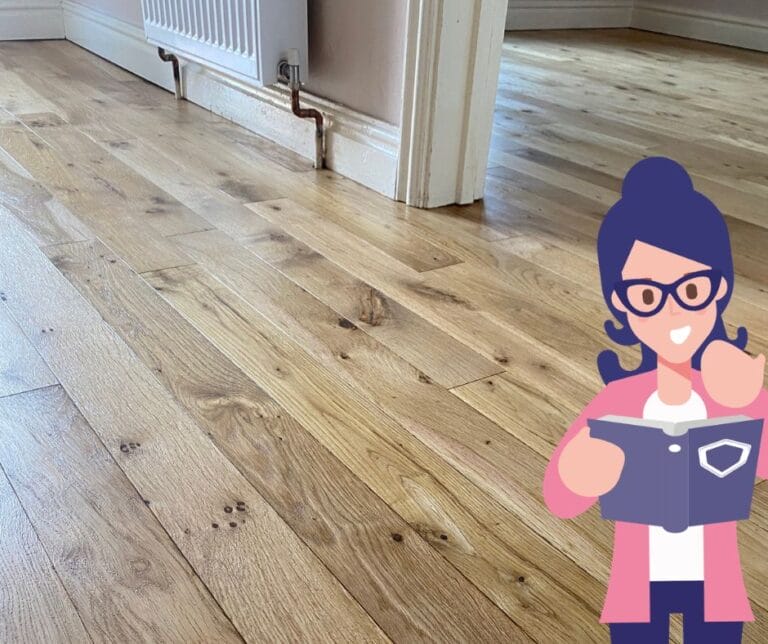
Oak is a hardwood, so it copes well with daily life, but it still takes knocks. Old finish, old paint splashes, staining near doorways, and everyday use can leave the wood floor looking uneven and dull. Floor sanding removes that top layer of varnish and surface damage, which is what makes wood floor restoration possible without replacing boards.
But the real value is what happens next. Therefore, sanding exposes fresh wood fibres so stain and wood finishes bond properly. That means a smoother, more even floor finish, and less chance of flaking, patchiness, or “striping” where the finish sits differently across the grain.
Tools needed for sanding oak floors…
Main floor sanders:
A good result usually comes from using more than one type of sander, because one machine cannot reach every part of the entire floor.:
- A drum sander is the traditional professional floor sanding machine. It removes old finish quickly and levels uneven boards efficiently. But it can also cut aggressively, so if you pause or turn too sharply, you can create dips and circular sanding marks that are hard to hide later.
- An orbital sander (including an orbital sander designed for floors) is slower, but more forgiving. It reduces the risk of gouging, which is why it is often recommended for a first-time diy project, especially on a new floor that only needs light levelling and refinishing.
- A belt sander is sometimes used where you need a very controlled, aggressive cut on specific areas. Think of it as a belt sander that can help in tricky spots, but it is not always the main choice for whole-room floor sanding.
- An edge sander is essential. The edge sander can’t reach tight internal corners, but it will sand floors right up to skirting lines and radiators, where the main sanding machine cannot get close.
Additional tools you will actually use…
You will also need a good vacuum or HEPA dust extractor (dust-free sanding is never fully dust-free, but dust control makes a huge difference), grit sandpaper in stages, a detail sander for awkward areas, plus safety gear (respirator, goggles, hearing protection).
Expert tip (dust control)… Fine oak dust travels, and it settles into every corner of a home. A decent dust extractor protects air quality, improves visibility while you’re sanding, and keeps the floor surface cleaner between passes, which helps prevent scratch marks. If you want to understand what “dust free” really means in practice, this guide on dust free floor sanding explains it clearly.
The correct sanding grit sequence for oak floors
This is where most sanding jobs start to go wrong. People rush, skip a grit, or jump to a fine grit too early. But oak will show it. Therefore, you want a steady progression that removes the last stage’s scratch pattern, rather than trying to “polish out” deep scratches later.
Step 1: Coarse sanding (36 to 40 grit)
Coarse grit paper, such as 40-grit paper, is used to cut through the old finish, flatten high spots, and sand away deeper scratches. On floors with heavy varnish or a thick layer of varnish, coarse sandpaper is the honest starting point.
Step 2: Medium sanding (60 to 80 grit)
This stage removes the coarse scratches and refines the surface. It is where the floor starts to look even, but it is not ready for stain yet. If you skip this step, you’ll often see sanding marks after finishing, especially in daylight across the room.
Step 3: Fine sanding (80 to 120 grit)
Fine grit is for the final refinement so the wood accepts the finish evenly. Most oak floors are finished somewhere in the 100 to 120 range, but be cautious about going too fine if you plan to stain. Overly fine sanding can reduce absorption and lead to a lighter, less even stain.
Here’s a simple grit sandpaper guide to keep you on track:
| Coarse cut | 36 to 40 | Removes old finish, levels boards |
| Medium cut | 60 to 80 | Removes coarse scratches, smooths the floor |
| Fine cut | 80 to 120 | Prepares for stain or varnish, evens the grain |
If you’re unsure about sandpaper grits for wooden flooring, remember this: grits for wooden flooring generally move in sensible steps. Big jumps leave visible scratch patterns, which show up after varnish, and you can see that grit sequence logic explained well in this FlooringRating grit guide.
Step-by-step guide to sanding oak floors
Step 1: Prepare the room
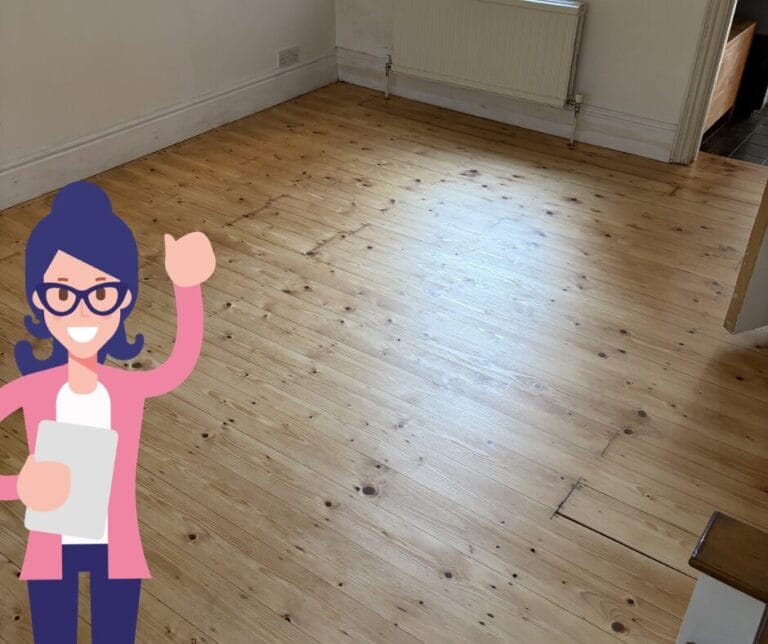
Start sanding only after the room is properly cleared. Remove furniture, lift curtains if needed, and take doors off hinges where it helps. Punch down proud nails and remove staples… anything metal will tear your sandpaper and can damage the sanding machine. Seal vents and doorways, and keep dust movement contained. Check for loose boards, gaps, or squeaks, because fixing these before the sanding process is easier than trying to repair once you’ve refinished.
Step 2: Start sanding with the grain
You’re sanding a wooden floor, so the direction matters. Always sand in the direction of your wood grain, or very slightly off it, depending on board layout, and keep your passes consistent. Overlap each run slightly so you do not leave ridges. Keep the sander moving, because lingering creates dips, and a floor would show those dips under light.
On uneven old floors, professionals sometimes make the first coarse pass diagonally to level boards, then return to with-grain passes. But if you are not confident, stay with the grain and take your time.
Step 3: Sand the edges
Once the main field is complete, switch to the edge sander for skirting edges and tight lines. Corners often need hand sanding or careful work with a detail sander. Floors by hand take longer, but it is sometimes the only way to keep corners neat without overcutting.
Step 4: Clean between passes
After each grit stage, vacuum the floor thoroughly. Dust left behind behaves like grit paper under your next pass, and it can create scratch trails and swirl marks. Clean the floor, then check the surface in raking light if you can; it is the quickest way to spot unevenness before you move to a finer grit.
Step 5: Final sand and inspection
Your final pass should leave the floor surface even and consistent. This is the point to address small gaps and imperfections. Some people use filler, but choose carefully, because filler can take on a stain differently. For small gaps, a clear wood filler gel can be useful in specific situations, but test first, especially if you plan to stain.

Pro tips for sanding oak floors
Oak rewards steady technique. But it punishes hesitation. Therefore, the best sanding is usually a calm, predictable movement.
Keep the sander moving and lift it smoothly at the end of each run. Dish-outs happen when the machine stops while still in contact with the wood.
Change sandpaper often. Dull paper overheats, clogs, and creates burnishing that can affect the stain. If the paper feels slow, it probably is.
Test on a hidden spot, such as under a radiator or in a cupboard. It helps you judge how quickly the old finish lifts and whether your grit sequence needs a tweak for your type of wood, especially if the floor is engineered wood rather than solid oak.
Avoid sanding too finely before staining. If you intend to stain, stopping around 100 grit is often safer than going all the way to 120 or beyond, because you want the grain open enough to accept colour evenly.
Common mistakes to avoid when sanding oak floors
Skipping sanding grits is the big one. It seems quicker, but it nearly always leaves sanding marks that show once the varnish goes down.
Sanding against the grain is another. You can sometimes get away with it on short, busy parquet, but most oak boards will show scratches clearly. If you have parquet floor patterns, including an oak parquet floor, speak to a professional before you start, because parquet behaves differently.
Leaving dust between passes is a quieter mistake. It does not look dramatic in the moment, but it can ruin the final finish.
Over-sanding edges is also common. People lean on the edge sander and end up with visible dips along skirting lines. Keep pressure light and movement steady; the edge sander can’t correct a heavy hand.
Should you sand oak floors yourself or hire a professional?
If you are confident with machinery, have time, and can manage dust and disruption, sanding your wood floors yourself can be satisfying. But the risk is real, and oak is not a forgiving surface when things go wrong.
Professional floor sanding tends to produce more consistent results, especially across larger areas or old floors with uneven boards. In the UK, professional sanding can range roughly £20 to £65 per m², with an average of around £40, depending on condition, access, and the finish you choose.
If you are comparing quotes, compare like for like, including how many sanding passes are included, what protection is used for dust control, and what happens if adjustments are needed after the finish cures.
What to do after sanding
Once sanding is complete, vacuum the floor again, then wipe down to remove fine dust. If you are applying stain, do it after your final clean, following manufacturer guidance and testing first. Then apply your chosen finish… common options include polyurethane, hardwax oil, or water-based lacquer.
The point of sanding and restoration is not just the visual result. Therefore, choose a floor finish that matches how you live, your pets, children, shoes indoors, and how much maintenance you want to do.
Final thoughts
Sanding oak floors is one of those jobs where preparation and patience matter more than speed. Oak is durable, but it shows poor technique. The right approach is a clear grit sequence, steady sanding with the grain, and careful edge work so the rest of the floor matches the perimeter.
If you’re weighing up whether to DIY or bring in a floor sanding company, it often comes down to confidence, dust management, and how much risk you’re comfortable taking in a finished space. If you’re still unsure, feel free to ask… We’ll give you a calm answer, no pressure.