Yes, we recently did a stone floor clean for God!! Not very often can you say you're working for God, but I have to say once our guys completed this clean… it was one of our favourites to photograph! So much so that we have a whole folder just for the pictures!! Although at the start, we did have a little issue… we had circles appearing on the slabs.
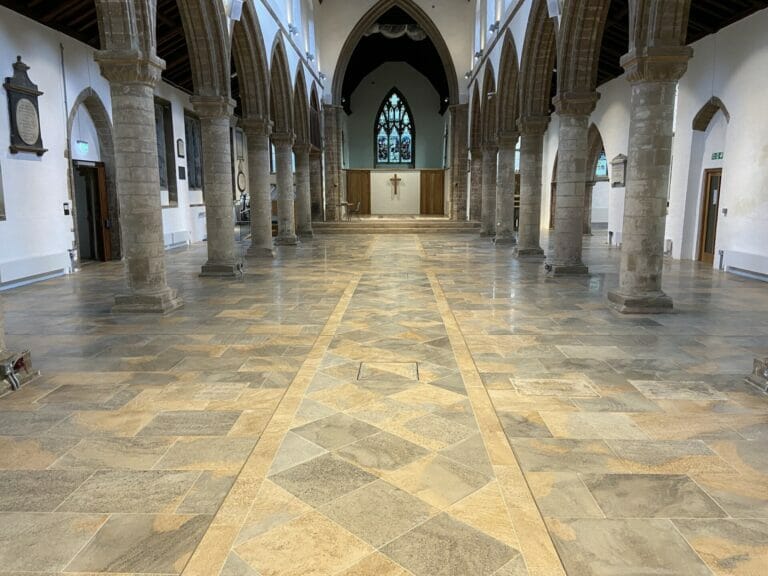
If you are having this problem, or this problem comes up when you have your stone floor cleaned by professionals for the first time… the reason why is headed “Working for God – problems with circles on a stone floor!” all sections are headed in bold so it should be easy to find what you are looking for. I’ve added a few other sections:
Mark and Matt, 2 of our trained technicians, went out to clean a beautiful stone floor for St. Mary’s Church in Ely. They were the first to clean this floor since it was newly laid… and they felt very privileged.
They started the first step of the process, and as they moved on. So that the tiles they cleaned could dry, they left our dryers and moved on to the next area. The circles appeared as they dried.
It wasn’t until the first section, the slabs started to dry, that it became apparent, there was a problem… at first glance, I could see the problem, but if you look closely, lines were appearing:
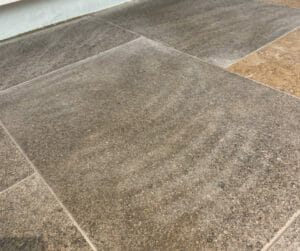
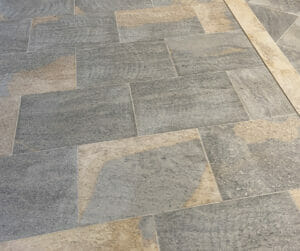
As you can imagine, our technicians weren’t happy, so the research began as to why this would happen. It didn’t take long to work out, and before the clean ended, we could explain why it had happened.
The floor was new, and this was the first proper clean… where they cut the tiles is what caused the lines.
If you imagine… they make natural stone tiles out of big chunks of stone. They do this with a circular cutting saw… after a lot of research, we found that it can often leave circular lines for the first few years of being cut.
In all fairness, it doesn’t look bad… it gives the floor more character and will fade after a few years of traffic being on it.
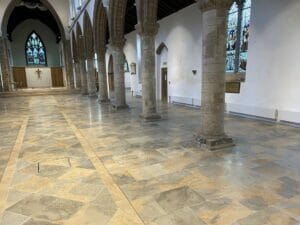
I think you will agree it looked stunning:
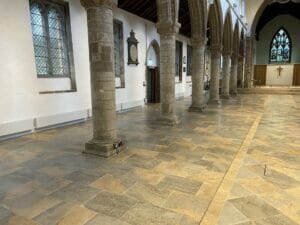
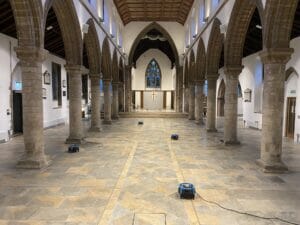
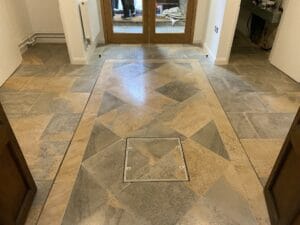
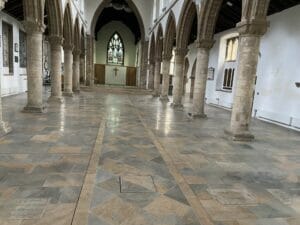
We started our process as we always do…
Step 1: Inspect the Area.
This step means they go around and see if there is staining anywhere that may need more attention.
Step 2: Prepping the area for cleaning.
Our technicians mask everything they don’t want to damage, for example:
Step 3: Any vacuuming that may need doing.
You will need to remove debris or soiling to ensure there is no damage before cleaning!
Step 4. Pre-Spray.
They spray the floor evenly, paying close attention to stains or grout lines.
Step 5: It’s Buffing time.
It’s time to give a little scrub with a special brush to the grout lines and stains before going over with a rotatory or tile master machine.
Step 6: sealing time for the tiles.
As you move around the room/rooms, placing a drying machine in the completed area is needed to dry each section. Once this is all dry, they then seal the stone floor so that moisture is less likely to soak in or stain and instead will sit on the surface… you can avoid any damage by cleaning it straight away.

Edited by Tracey Gilbey, Marketing
For further advice or information on our Carpet and Soft Furnishing care, please do not hesitate to contact the Art of Clean team on 01223 901551 in Cambridge. Our services include Carpet Cleaning, Upholstery Cleaning, oriental and area Rug Cleaning, Curtain Cleaning, Patio, and Driveway Pressure washing, Leather Cleaning, Stone and Tile Floor Cleaning, and Wood Floor Sanding and Restoration. We also supply new flooring and carpets through our sister company Art of Flooring. Farthings Cambridge provides our Dry-Cleaning service

For further advice or information on our Carpet and Soft Furnishing care, please do not hesitate to contact the Art of Clean team on 01223 901551 in Cambridge. Our services include Carpet Cleaning, Upholstery Cleaning, oriental and area Rug Cleaning, Curtain Cleaning, Patio, and Driveway Pressure washing, Leather Cleaning, Stone and Tile Floor Cleaning, and Wood Floor Sanding and Restoration. We also supply new flooring and carpets through our sister company Art of Flooring. Farthings Cambridge provides our Dry-Cleaning service